
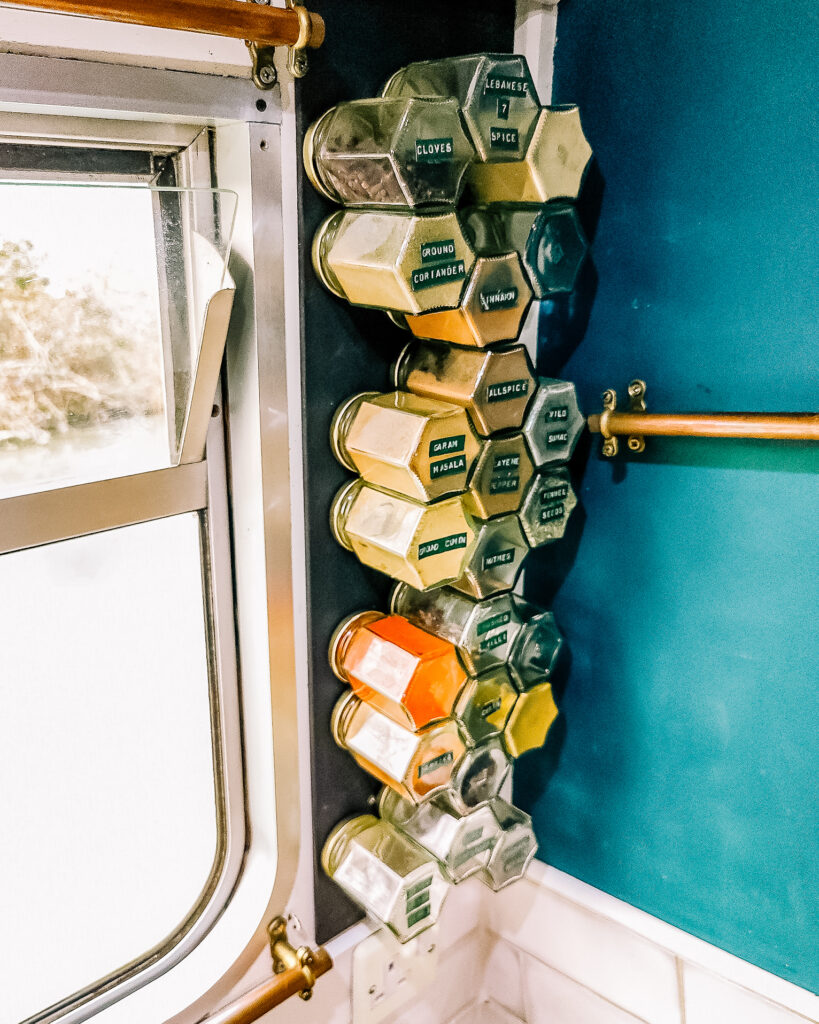
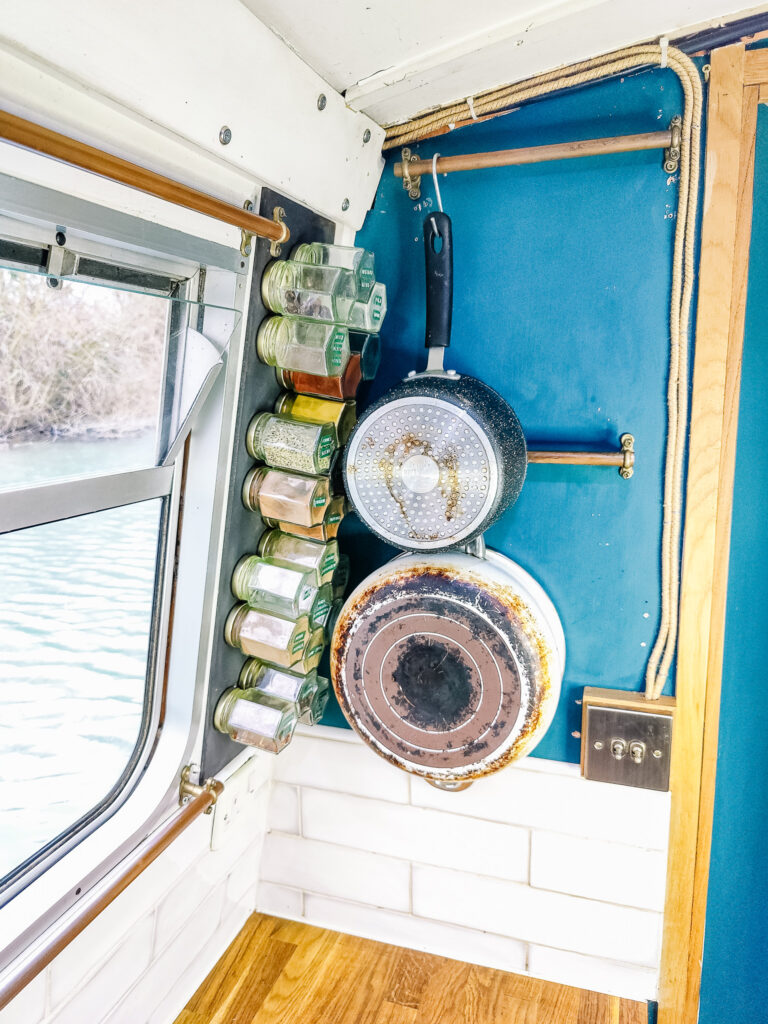
Most of this series will be a look into storage options in different areas of the boat. Today’s will be a little different. It’s all about making a spice rack. Easy, practical- a great DIY project!! I’ll give you a materials list and an overview of how I put mine together. It’s a lovely way to organise your kitchen spices, plus an attractive kitchen feature.
Materials
(Links are suggestions, we have no affiliation to any of the companies listed and receive no payment for click throughs or orders)
Jars
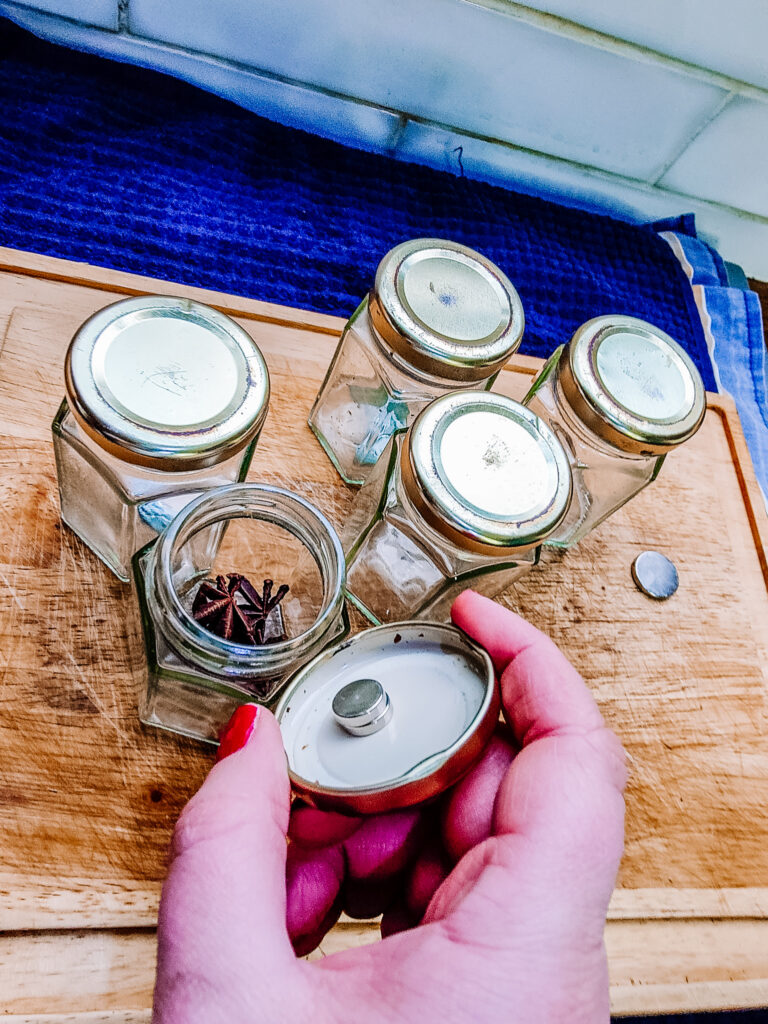
I love the honeycomb jars, they tesselate well and make interesting patterns. However, any clean, food safe small jar with a metal lid will do. Plastic lids might work, I haven’t tried it. You want a jar of around 190ml, but you can use bigger/smaller jars to suit your needs.
Magnets
Getting the strength right is key. I used neodymium magnets, they are stronger for their size than ferrite magnets and less brittle too. Around a 3-5kg pull strength is ample.
Backing Board
Any magnet (ferrous) material. I used a piece of metal sheet I got from our Blacksmith neighbours. You can get steel or iron sheet online and cut to size, or find something to repurpose. How about an old iron skillet? It maybe possible to stick the jars directly to a fridge, cooker hood or other metal surface.
Be aware that not all stainless steels are magnetic!
https://www.metals4u.co.uk/materials/mild-steel/mild-steel-sheet/sheets/2500-p
Labelling Material
My partner has a vintage Dymo label maker from her grandparents which made our gorgeous labels. If you have a label maker then great, but it’s not essential. You can write paper labels and tape them on or use a marker that will write on glass. The latter may rub off with time.
Fixings / Adhesive
If you are mounting a backing board to the wall or a cupboard then you will need to fix it off. A combination of grab adhesive and screws will be nice and strong. Most narrowboat walls are wooden so you can screw straight into them (Mind Cables!!). To drill metal you will want a 4mm HHS bit for a clearance hole and a 8-10mm HSS bit to countersink the hole.
Tools
(suggested, but not all essential)
- Drill and drill bits
- Screwdriver
- Adhesive applicator gun
- Label maker
Method
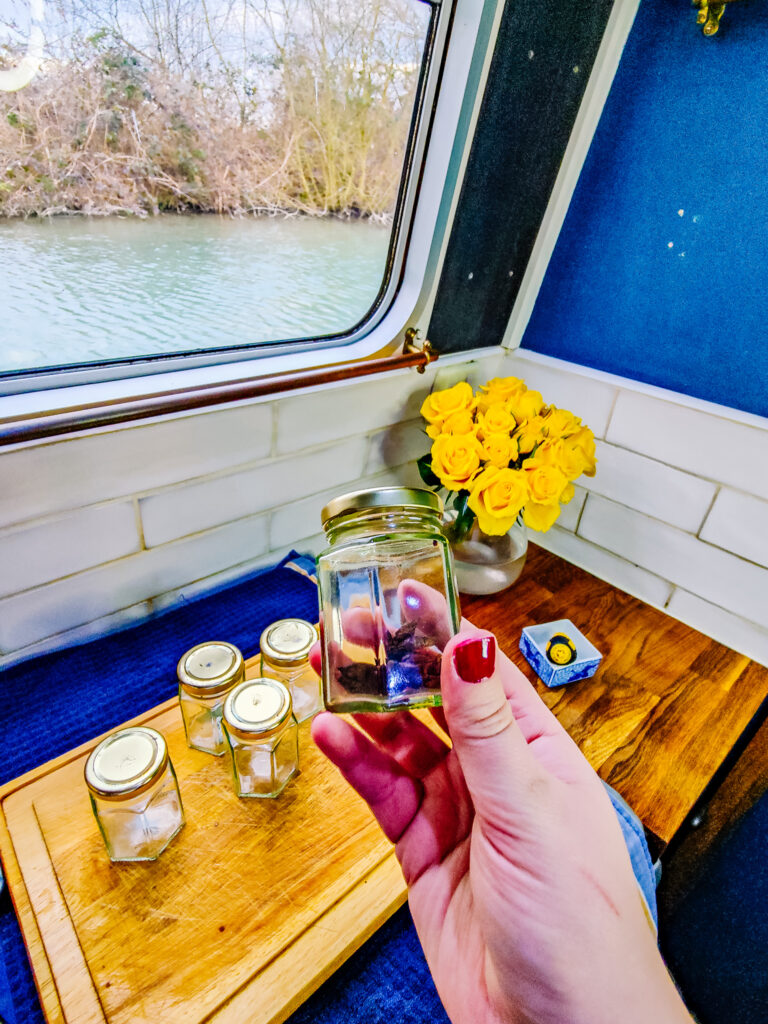
Once you have all your materials it couldn’t be simpler. Put a magnet into the lid of each jar. Use two if they are too weak. They stick to the inside of the lid and the jars will now stick to your backing board/fridge/cooker hood.
To mount a metal backing board I drilled holes and then countersunk them. You need HHS metal drill bits to drill a clearance hole and then countersink so the screw heads don’t stick out too far. I used a little grab adhesive on the back to be belt and braces, though a screw in each corner will likely be sufficient. You can screw straight into the walls of most narrowboats as they are typically ply or MDF. Make sure to check for pipes and cables beneath. I would suggest not using screws longer than required.
Label up each of your jars with your chosen labelling method. Putting the names on the bases makes it easy to see what is in each jar and avoid any culinary surprises! You can make these as elaborate and ornate as you care to.
Finally, decant your spices and arrange in a pleasing pattern. It is good to leave a few gaps so that you can get fingers in to grab them.
I hope that you have found this guide helpful. Why not have a go at making one for your kitchen. If you do, then tag us #cluettcarpentry
