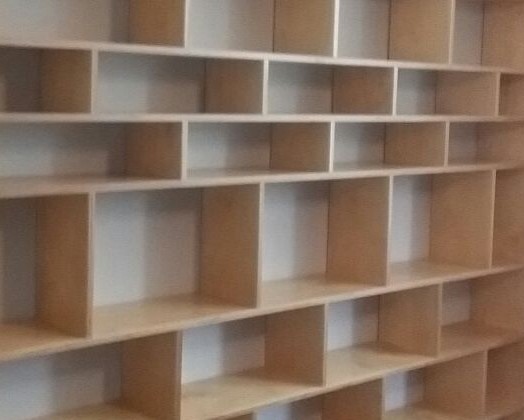
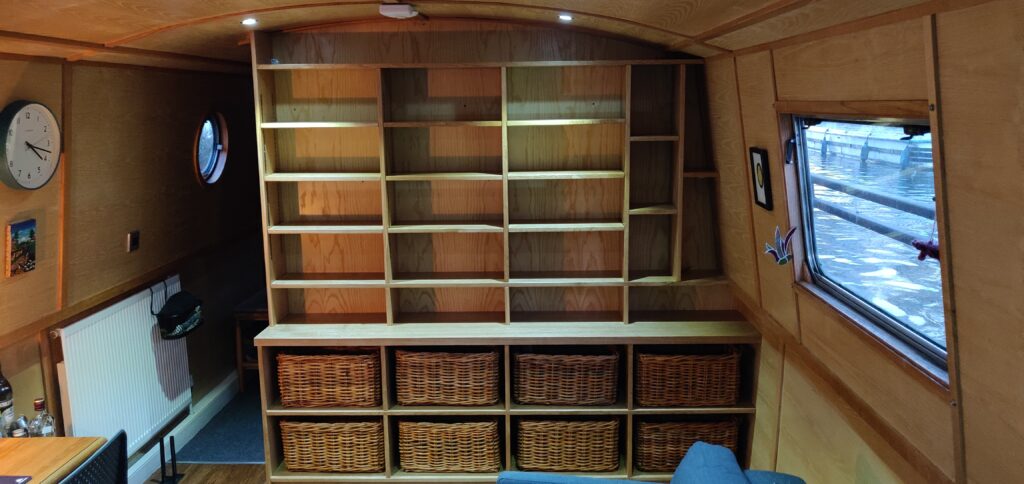
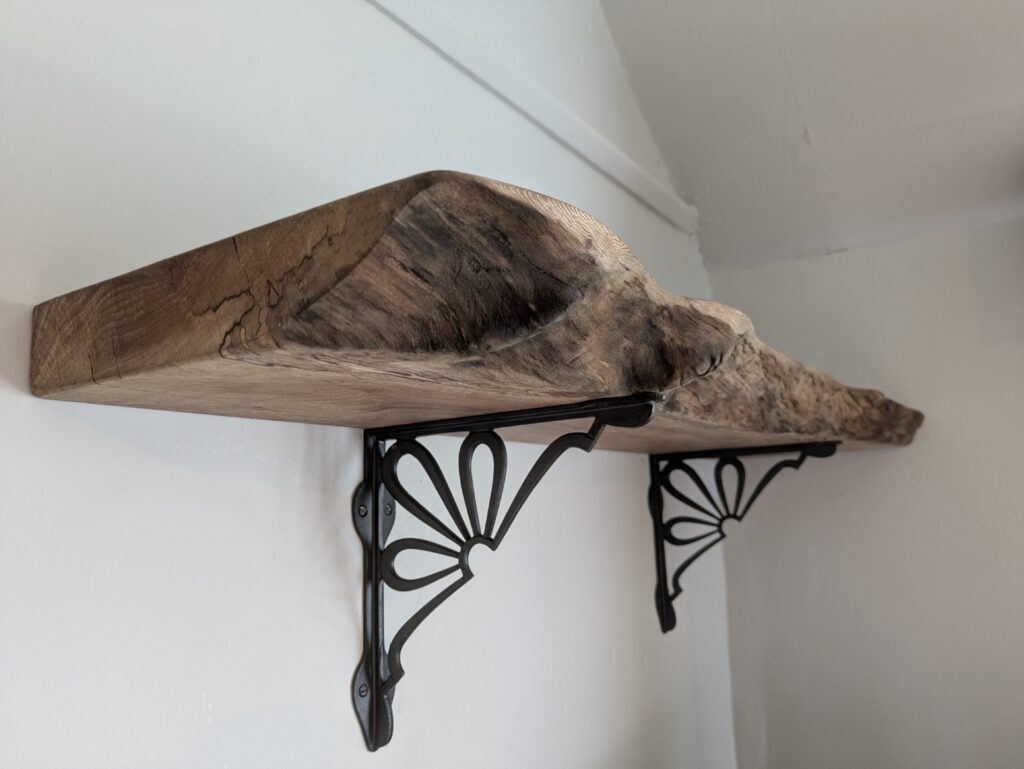
S is for Shelves! See the best ideas
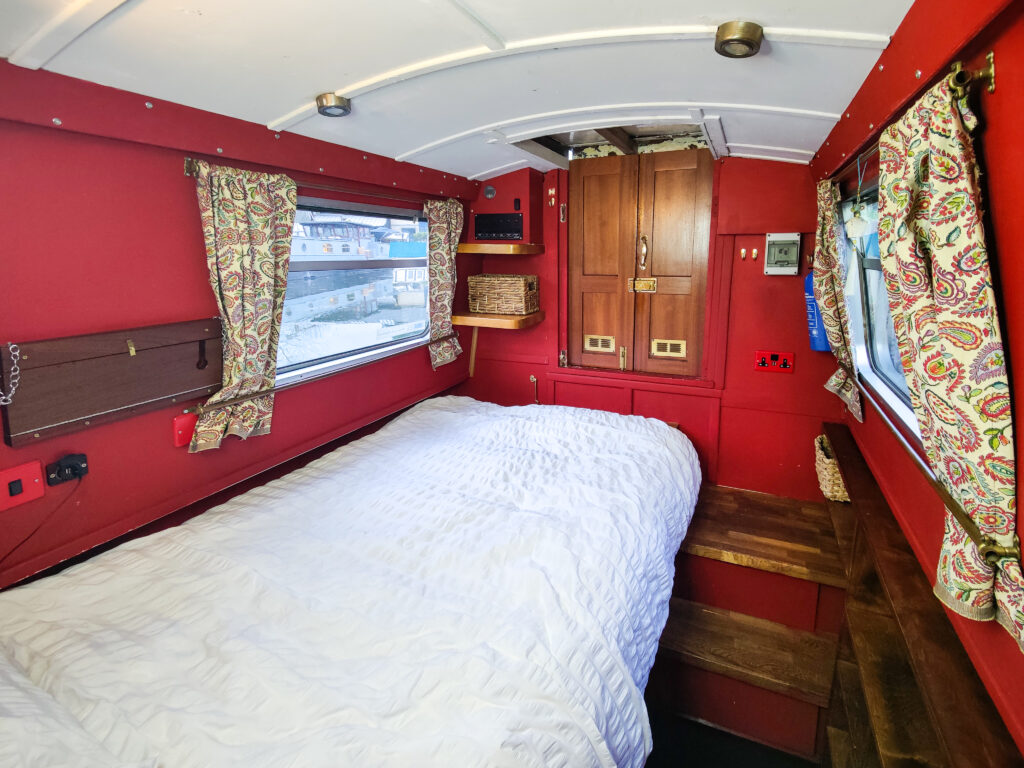
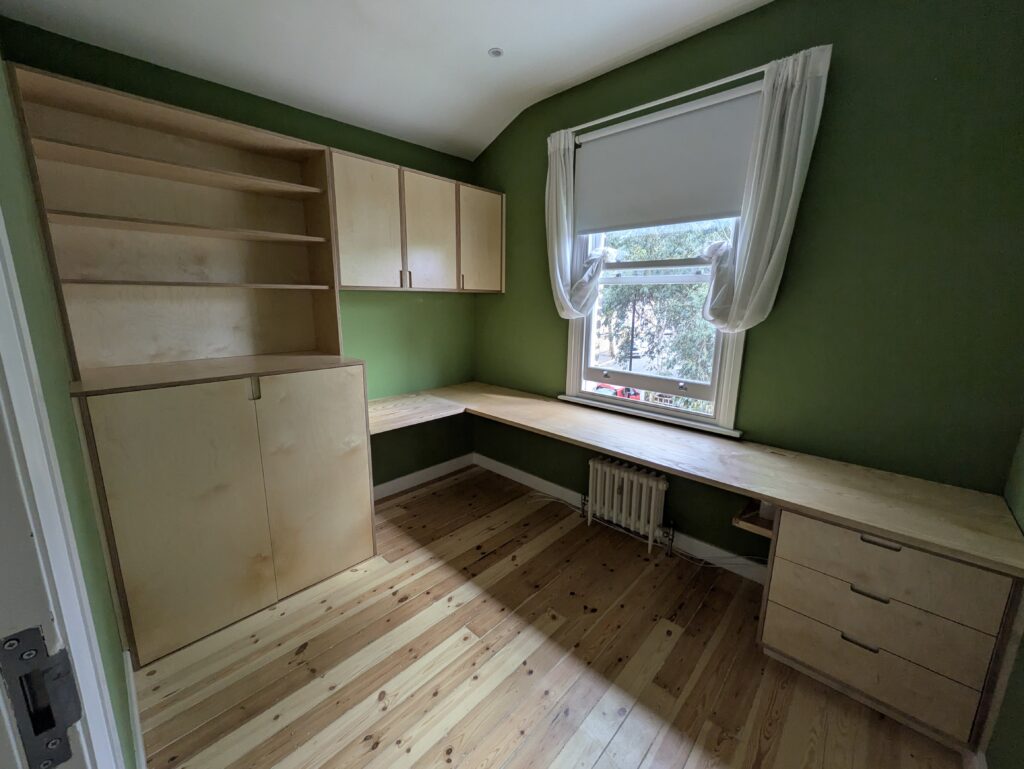
S is for Shelves! Back again on shelves. I have covered this in part with other articles, but I wanted to do a whole piece highlighting some of the beautiful custom and made to order shelves we have made and…
© 2017 - 2025 Cluett Carpentry Ltd. All rights reserved.
Site by CritchCorp Computers Ltd
© 2017–2025 Cluett Carpentry Ltd. All rights reserved. Cluett Carpentry Ltd is a company registered in England and Wales. Registered Number: 10683114. Registered address: Piccadilly Business Centre, Unit C Aldow Enterprise Park, Manchester, England, M12 6AE.VAT Number: GB414213151. ICO Registration: ZB917125