fbpx

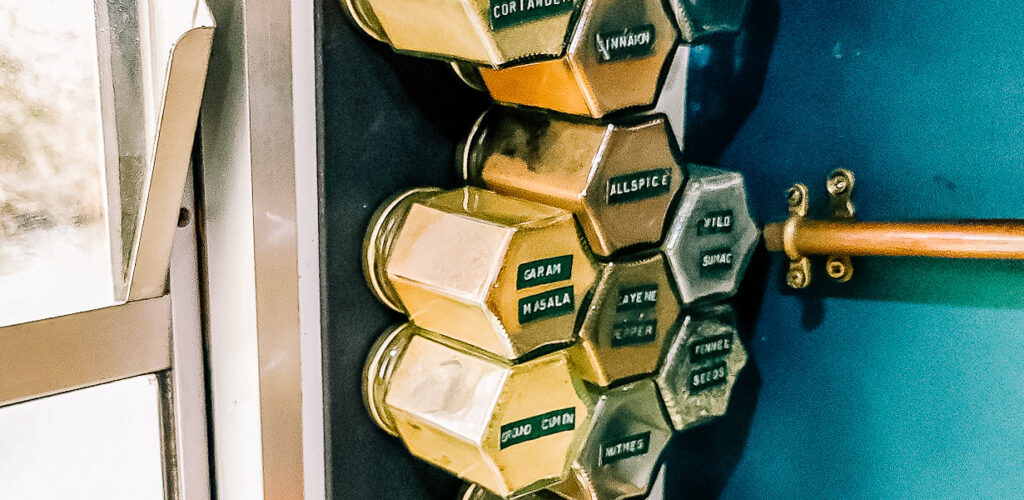
How to DIY a magnetic spice rack
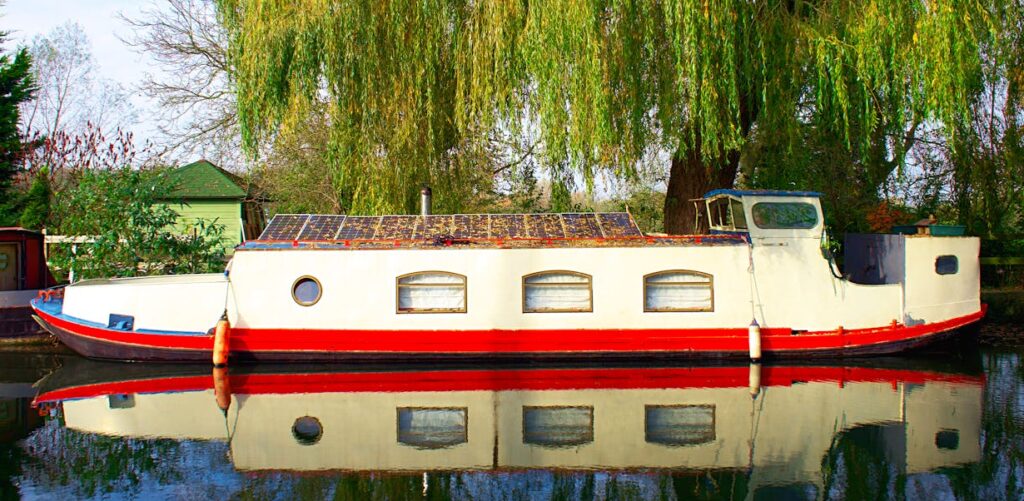
Most of this series will be a look into storage options in different areas of the boat. Today’s will be a little different. It’s all about making a spice rack. Easy, practical- a great DIY project!! I’ll give you a materials list and an overview of how I put mine together. It’s a lovely way to organise your kitchen spices, plus an attractive kitchen feature. 


Materials

(Links are suggestions, we have no affiliation to any of the companies listed and receive no payment for click throughs or orders)

Jars

I love the honeycomb jars, they tesselate well and make interesting patterns. However, any clean, food safe small jar with a metal lid will do. Plastic lids might work, I haven’t tried it. You want a jar of around 190ml, but you can use bigger/smaller jars to suit your needs.

Magnets

Getting the strength right is key. I used neodymium magnets, they are stronger for their size than ferrite magnets and less brittle too. Around a 3-5kg pull strength is ample. 

https://www.first4magnets.com/circular-disc-rod-c34/20mm-dia-x-3mm-thick-n42-neodymium-magnet-4-6kg-pull-p3300#ps_0_3352|ps_1_1481

Backing Board

Any magnet (ferrous) material.  I used a piece of metal sheet I got from our Blacksmith neighbours. You can get steel or iron sheet online and cut to size, or find something to repurpose. How about an old iron skillet? It maybe possible to stick the jars directly to a fridge, cooker hood or other metal surface.

Be aware that not all stainless steels are magnetic!

https://www.metals4u.co.uk/materials/mild-steel/mild-steel-sheet/sheets/2500-p

Labelling Material

My partner has a vintage Dymo label maker from her grandparents which made our gorgeous labels. If you have a label maker then great, but it’s not essential. You can write paper labels and tape them on or use a marker that will write on glass. The latter may rub off with time.

Fixings / Adhesive

If you are mounting a backing board to the wall or a cupboard then you will need to fix it off.  A combination of grab adhesive and screws will be nice and strong. Most narrowboat walls are wooden so you can screw straight into them (Mind Cables!!). To drill metal you will want a 4mm HHS bit for a clearance hole and a 8-10mm HSS bit to countersink the hole. 

Tools

(suggested, but not all essential)

  • Drill and drill bits
  • Screwdriver
  • Adhesive applicator gun
  • Label maker

Method

Once you have all your materials it couldn’t be simpler. Put a magnet into the lid of each jar. Use two if they are too weak.  They stick to the inside of the lid and the jars will now stick to your backing board/fridge/cooker hood. 

To mount a metal backing board I drilled holes and then countersunk them. You need HHS metal drill bits to drill a clearance hole and then countersink so the screw heads don’t stick out too far. I used a little grab adhesive on the back to be belt and braces, though a screw in each corner will likely be sufficient.  You can screw straight into the walls of most narrowboats as they are typically ply or MDF. Make sure to check for pipes and cables beneath. I would suggest not using screws longer than required.

Label up each of your jars with your chosen labelling method. Putting the names on the bases makes it easy to see what is in each jar and avoid any culinary surprises! You can make these as elaborate and ornate as you care to. 

Finally, decant your spices and arrange in a pleasing pattern. It is good to leave a few gaps so that you can get fingers in to grab them. 

I hope that you have found this guide helpful. Why not have a go at making one for your kitchen. If you do, then tag us #cluettcarpentry

5 Storage Drawer Ideas for Narrowboats

5 Storage Drawer Ideas for Narrowboats

Narrowboat Storage Series

As a cabinet maker we joke that all we do is build boxes. Drawers are just a box in a box, but they can help make the most of limited storage in a boat. What you in the thickness of the drawer and runners, you can in utility as easy access makes it a breeze to use the full depth of hard-to-reach spaces. Plus, it makes organisation satisfying and pretty. If I were building my dream kitchen I would have 80% drawers, cupboards just wouldn’t cut it.  They’re great for under-bed storage, beneath dinettes and anywhere you can fit them in around the home. 


Space: Drawers

Size: From around 200-300mm wide and 400mm deep, to giant drawers over a metre wide, breakfast bars a metre deep and up to 600-700mm tall

Type of storage: Very varied, though typically not over about 1-1.2 metres in the largest dimensions and often much smaller.  Generally shallow, though not always

Suitable for: Anything that isn’t too long and large.  Everything for the kitchen, from crockery to cutlery to pantry items. Clothes, shoes, linen. Toys, books, DVDs

Materials: Varied, though Birch ply, clear lacquer and a soft-close undermount runner for preference

Difficulty rating: Medium to hard.  Not for amateur DIYers, but very effective done properly


1) Breakfast Bar

My favourite drawer, though it might be a stretch to call it that, is a breakfast bar we did. It’s 900mm long and marble. The body is birch ply and the runners are heavy duty locking runners, designed for fire trucks and similar. They can take an even load of 250kg! We were able to fit such a deep bar as it is a Dutch Barge and there was a lot of space under the gunwale, behind the kitchen. It gives a big additional kitchen surface and an elegant table for breakfasting with a loved one.

2) Coffee Station

Here we have my coffee station. My partner arranged this and I love it. It is a good example of how a drawer can help organise and beautify. Everything is together; one drawer for mugs, the next for coffee, filters and other supplies. It is very ergonomic and feels great to use.

3) Pull out bin

Drawers are nothing if not versatile. On the other side of the kitchen we have a pull out bin. It is not glamorous. It is very useful though. With two sections to keep general waste and recycling apart it is clean and green. It’s nice to be able to hide the rubbish away and this gives you plenty of space when you are between refuse points, keeping you going as long as possible.

Photograph of pull out bin in a narrowboat
Photograph of plinth drawers in a narrowboat kitchen
Photograph of a unfinished pull out breakfast bar
Photograph of Coffee station with pull out drawers

4) Plinth drawers

A relatively new type of drawer, plinth drawers have been growing in popularity. We fit these in pretty much every kitchen we do now. The plinth (the area beneath the units) is dead space and is normally unused. A plinth drawer gives you a space you never knew you had. It is ideal for odds and sods. It also makes an adorable pull out for pet food and water bowls. They can be fitted with most kitchen units and add a good amount of additional storage.

5) Chopping board

Another fun kitchen addition is a pull-out chopping board. It provides extra working space in a tight galley kitchen. It feels good to use and can help you keep things clean and clear while you cook. I’ve seen some with a hole to put a bin beneath for easy clearing of peelings and scraps, something to try on a future project.

All things considered, drawers are a really great way to access deep spaces, keep things organised and make the best use of the space you have. They can be integrated into most pieces of furniture and modern drawers runners are reliable, look great (undermount are effectively invisible) work brilliantly and will last and last. All sorts of spaces, shapes and sizes can be made and with heavy duty ratings on some runners the uses are almost endless. If you want some help getting the most out of the space in your home, then give us a call and let us design and build a gorgeous piece of furniture for you.