Hey, today we’re going to talk toilet tanks. Jacqui (our business bod) has been asking me to write a post on this for a while so while I’m sat in an Uber on my way to a job seems like a good time. I wouldn’t normally afford myself the luxury of an Uber but it’s so expensive to drive a van into central London and park, plus my bike is temporarily out of action, so I thought why not.
Taking a toilet tank out is an ever popular request from people. We do take some out, though many people opt to do it themselves. It’s not that tricky but it’s a dirty job and I, for one, expect a pretty decent rate before I start going mano a tanko with your old poop tank. Well, for those that fancy saving a few quid and trying it themselves I will try and impart a little wisdom.
Standard Disclaimer; We take no responsibility for any work you choose to undertake. While I hope this will be of use to people anything you read here is purely personal opinion and you should not undertake any work where you do not know what you are doing. If in doubt get a professional!
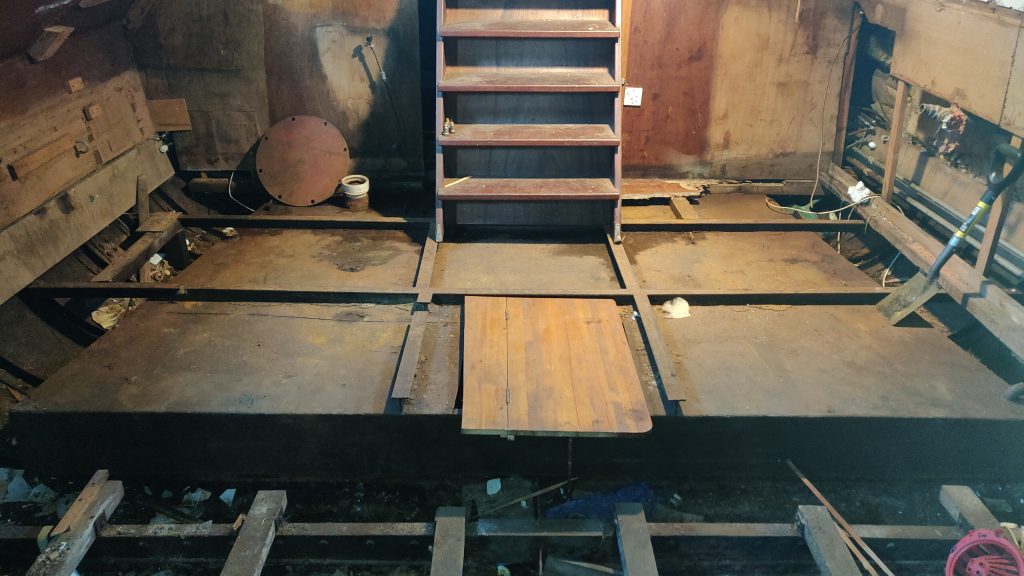
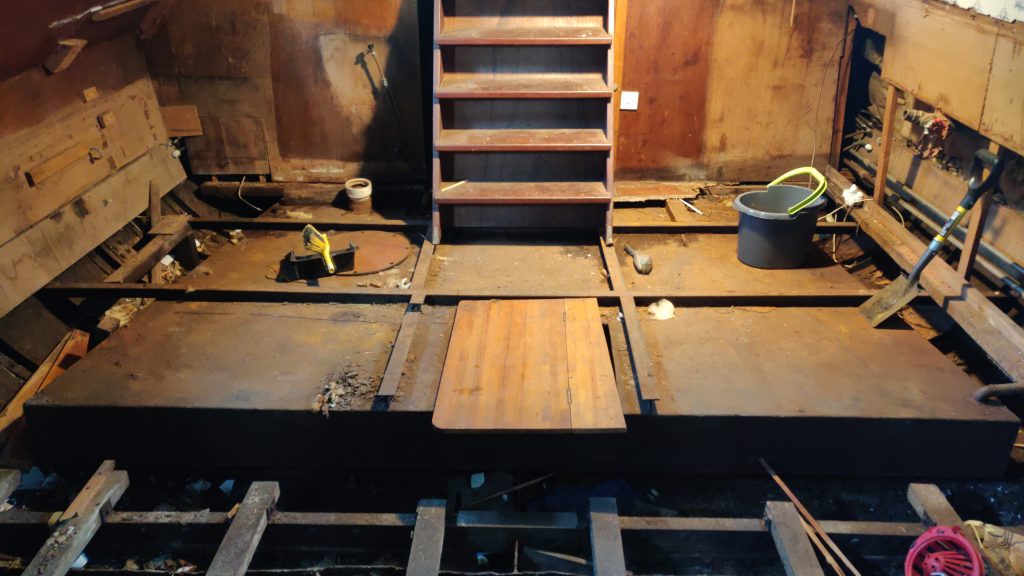
There are few elements to tank removal and a few types of tank that you might be removing. Let’s start by breaking the job down. There’ll often be access issues, walls or beds and the like that have been built in after the tank so some preparatory carpentry is likely step 1. Step 2 will be to decommission any plumbing that is in your way (Do not mess with gas pipes! Get a gas safe professional!). Next up, step 3, that’s free the tank and wrestle the bugger out of the boat. You could also include disposal here though we aren’t covering that as commercial waste removal is not our area, we pay for this to be done safely and legally. Step 4, make it good and install your new choice of toilet

From the top then. People want to hide tanks out the way and use up dead space. Building the bed over the tank is a classic way to utilise space and hide away the unpleasant tank. Often the tank will be sticking halfway through a wall as well. How to remove these potential obstacles is not a question I can answer completely here, a good knowledge of boat carpentry will stand you in good stead but, failing that, I would suggest a considered approach of deconstructing what is there. Try to work out how it (whatever it is) was built and work back from there. If you take it apart carefully then you’ll likely be able to put it back together again. It’s common on boats for fixings to be in some way accessible. It could be that there are trims holding the walls in and the screw holes have been filled or plugged. Find these and dig them out. Just work through whatever is there, finding points where it is fixed and removing them. It’ll take longer than crowbarring the whole lot out but you’ll thank yourself later. A handy tip is to take a photo log of the work as this can help reassembly
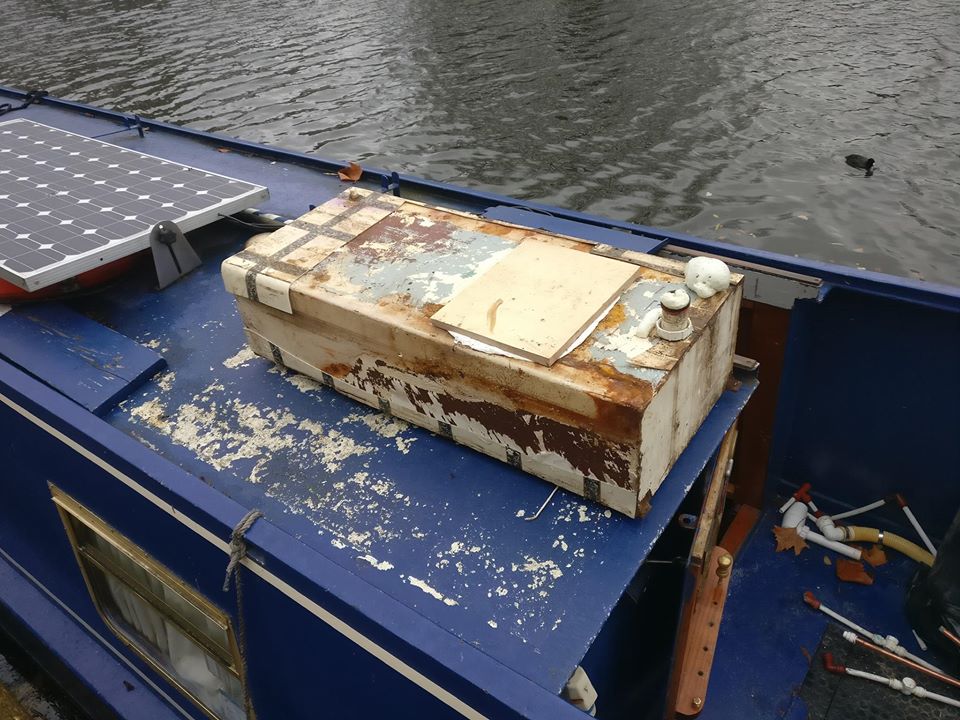
Before we go any further, let’s look at a few different tank types. If you’re lucky, it’s a modern plastic tank. Pat yourself on the back as the battle is already half won. More likely it will be a metal tank, old, rusty and possibly structurally unsound. This might have brackets or fixing points so that it could be screwed down to the base. It may have straps to hold it in. Or, if you really have p****d off the gods of good fortune, it may be welded to the base or even be an integral part of the hull. If it’s the final one, you’ll know once you have uncovered the tank in full and can see the bottom of it. You have a horrid job ahead of you. For now we’ll assume an independent tank and I’ll talk about integral tank later.
Okay, let’s look at decommissioning the tank. We ask people to empty the tank (obvs!) and to rinse it out at least twice before we start. This won’t leave it completely clean or empty, but it’s better than it could be. Next up is any plumbing involved with the tank, plus anything else in the way. Turn off your water, ideally at the pump and stop cock, drain the pressure off the system at a low point or tap and disconnect you water feed. This can then capped with a stop end and you’re good to go. Temporarily decommission any other plumbing (don’t touch gas! Get a Gas safe plumber!) in a similar manner if required.

The loo will be attached to the pump either directly or via a pipe. You will want to turn off and isolate the macerator if there is one. There will be a an in-let, out-let and air vent on the tank (set ups may vary and other in/out-lets are possible, check manufactures drawings if in doubt but things are largely all dealt with in the same way). Basically, disconnect and remove all all pipework at both ends and then we’ll deal with the holes. For this we’ll want some batten, board, silicone and spray foam. Little holes you can spray foam, bigger holes we’ll board over. You want to cut a length of batten about 4” longer than the hole width. Put this in to the tank and hold in place so it is covering the width of the hole. Drill a hole through either side where the wood is to allow you to put a couple of screw in, hey presto you’ve now got a fixing point. You can now cut a piece of board that is going to cover the whole. It needs to be bigger that the hole but the exact measure is not important. I like to glob a load of silicone around the edge and then I just screw through the board (eg a scrap of OSB, chipboard or WBP, ply) in to the batten and the silicon is going to seal up the hole. It’s not going to give you a perfect seal but your not going to hold the tank upside down above your head! (I hope)

Now that the tank is sealed up, holes large and small are covered, we can look at getting the tank freed up and out. Assuming it isn’t integral then it is likely fixed somewhere, either by straps or brackets or similar. If there is something to undo, hopefully undo that and you’ll be good to go. More likely whatever fixings are in place will be rusted to hell and will want grinding away. I wouldn’t recommend drilling out screws in the bottom of your hull! Grind off heads, cut, remove or snap straps, check that all fixing points are loose. If it’s a metal tank, then it may be quite rusty and this could be gluing it to the base. Get a bar under there and lever it up to break it away, being cautious that the hull is sound underneath, you don’t want to rip a hole in the floor of your boat!
If it’s plastic it will likely come away easily and should be quite light to lift out. If it’s metal then it’s probably going to be trickier, you also should watch out for the integrity of the tank. Handle with care as if it’s rusted then you don’t want it to collapse on you! It’s also going to be heavier so you’ll need an extra pair of hands to help lift it out.
Integral tanks….. Well, some days you’re the statue I guess. If the tank is welded to the hull/part of the boat, then the only way you are going to get it out is to cut it out. You may have to cut up the tank anyway if it’s just too large and/or unsound. That’s every bit as unpleasant as it sounds. Clean, rinse and pump out as best as you can, then get in with the grinder. Extreme caution must be taken!! Do not cut a hole in your hull. I would suggest you cut open the top and then wet vac out the remaining liquid, after that mop out the residue. At least this way there’ll be less splashback as you cut in! You only need to cut away what’s above floor height, though you don’t want to leave a pool in the bilge. Point is though that if it’s not clean down to the hull all the way around it hardly matters. Take your time, cut out manageable pieces, and just be very, very careful. Using a grinder in a tight space is dangerous, use appropriate personal protective equipment. You really need to watch out for sparks as well, they start fires bilges and on clothes!
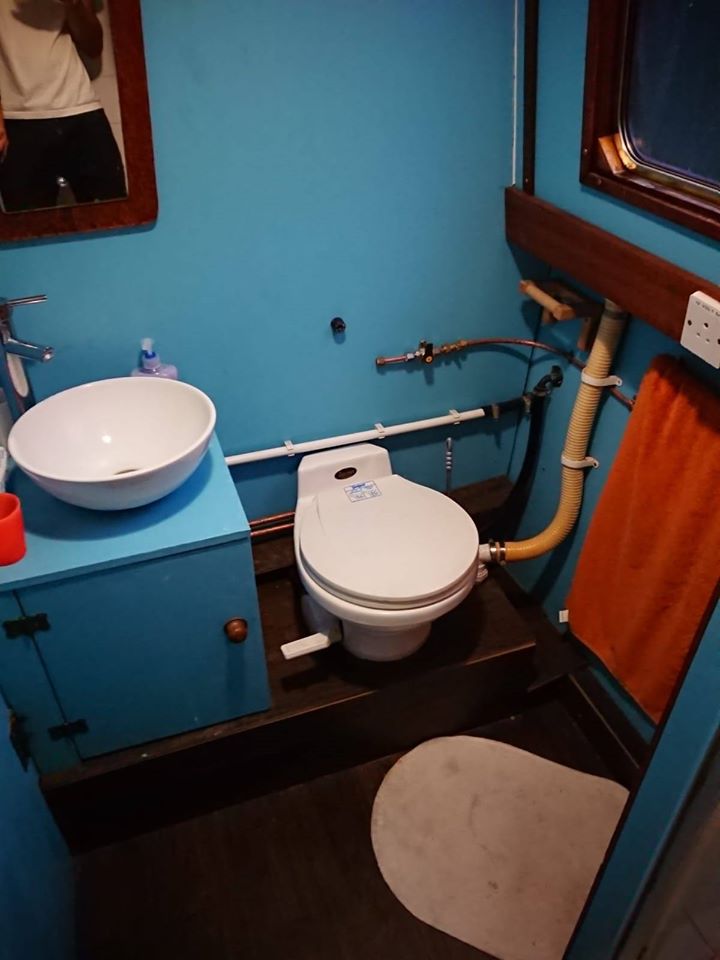
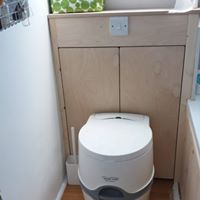
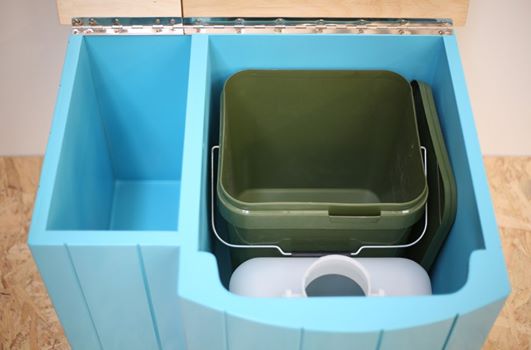
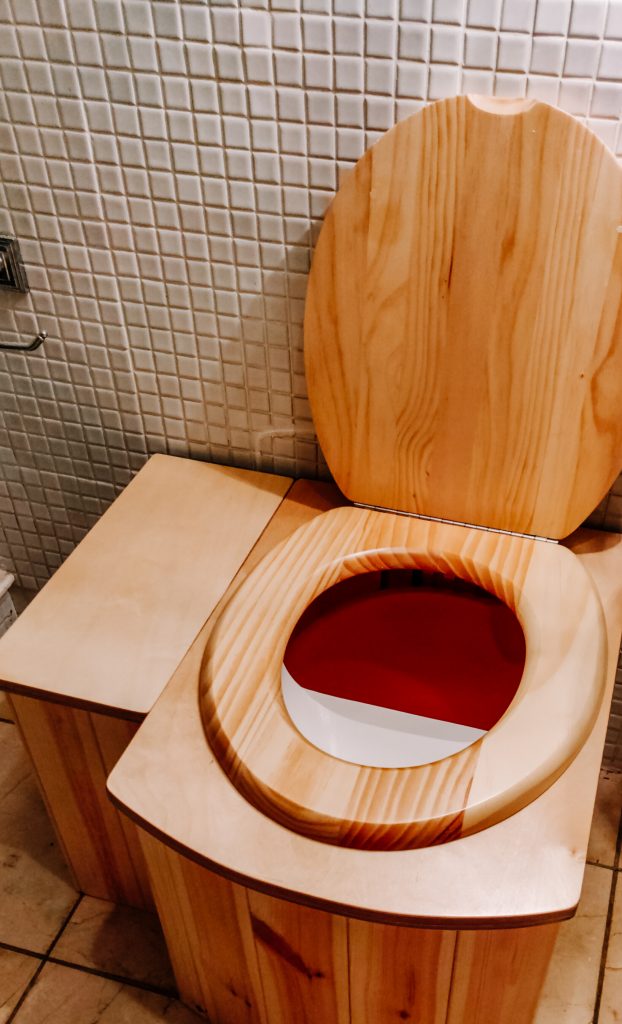
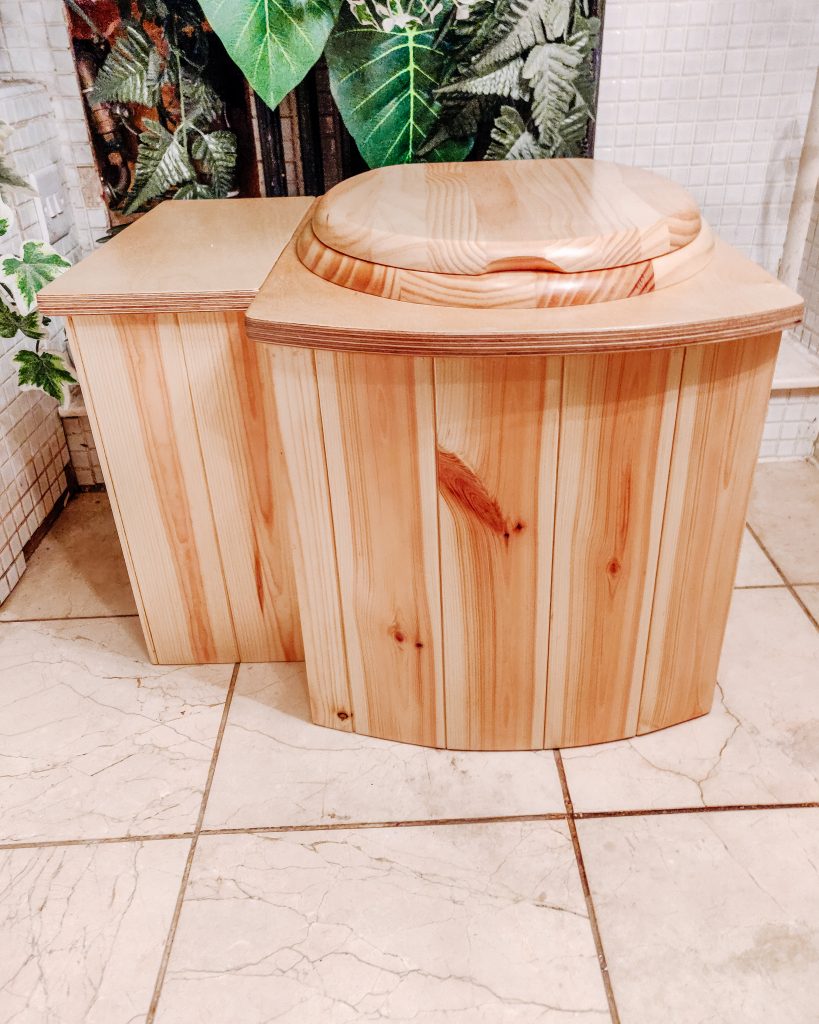
Once your tank is out and you’ve taken it to an appropriate waste disposal site then you can put the area back together. Refit plumbing and carpentry elements as required, patch sub-floor and floor, walls etc. Cassettes and compost loos are generally pretty easy to install, so now you’ve done the hard bit this should be pretty straightforward. All that’s left after that is to burn your clothes, have three to four showers (round at a mate’s house) and enjoy your new crapper!
Happy tank removal